On this page
Overview
- Agree the survey scope and control, register the scans, establish coordinates, then model and check the required elements.
- A model-to-cloud comparison checks consistency with the scan. It does not independently prove that the survey is accurate.
- Record concealed areas and missing coverage rather than presenting inferred geometry as measured.
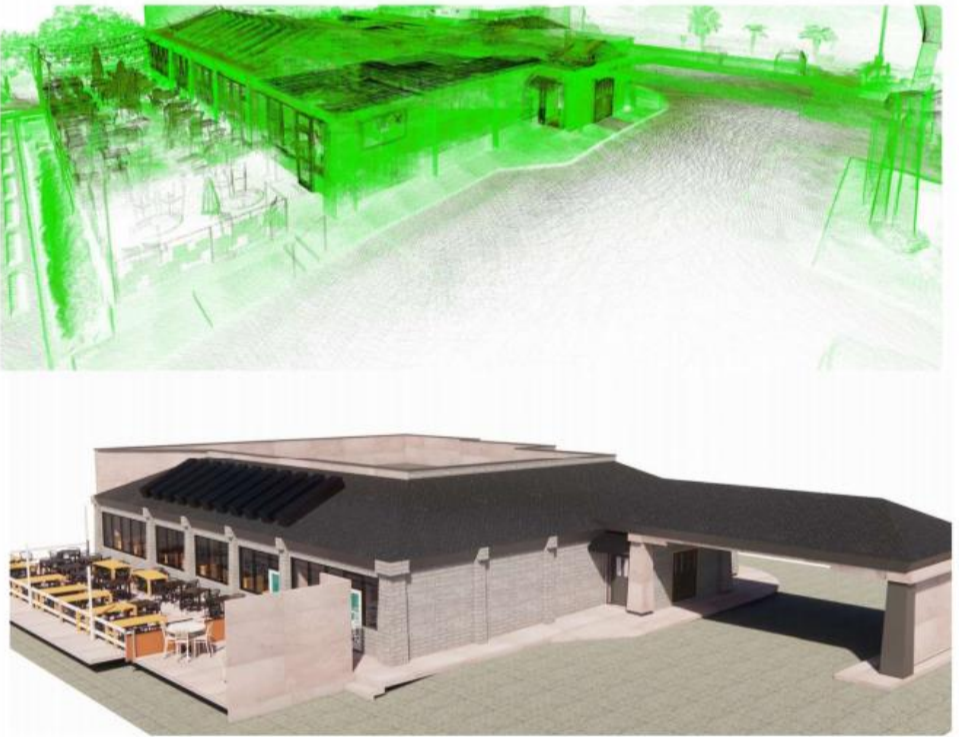
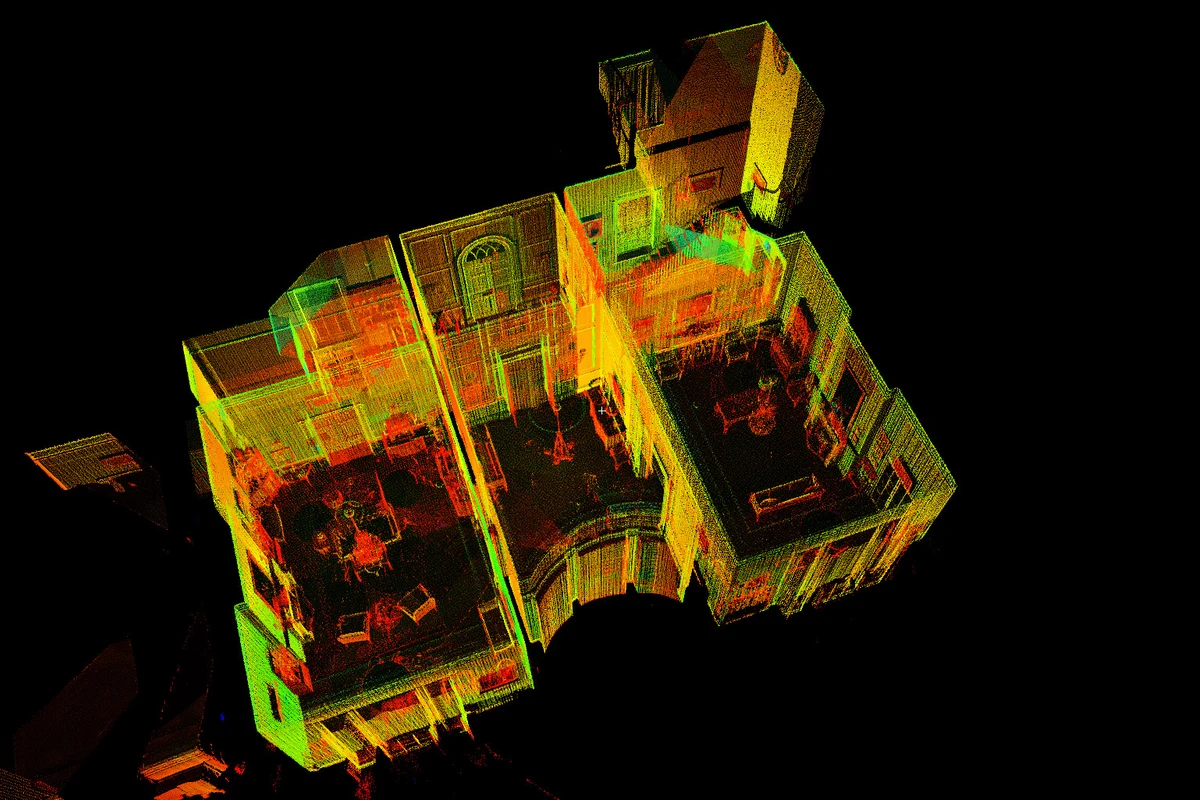
A point cloud gives the modeler measured surface data. A useful Revit model also needs a clear survey scope, reliable coordinates and agreed rules for what to model.
From survey to Revit
- 01Agree the capture scope
List the rooms, external areas and services needed for the design. Record access restrictions and which concealed conditions need separate investigation.
- 02Check the survey package
Ask for the coordinate basis, control information, registration report and coverage record. Resolve unexplained offsets or gaps before modeling the affected areas.
- 03Link the point cloud
Revit links indexed RCP or RCS files. Autodesk documents several positioning options; choose the one that matches the agreed survey and model coordinates, then check known locations.
- 04Model the required elements
Follow the element list and intended model uses. Keep observed geometry separate from assumptions. Do not infer pipe specifications or concealed connections from a visible surface alone.
- 05Review and deliver
Check the agreed elements against the cloud and record deviations, exclusions and unresolved areas. Deliver the model with its coordinate basis, survey date and review record.
Start with a sample area
For our Scan-to-BIM service, share the available survey files and intended use. We can agree the elements, tolerances and review method on a sample before modeling the rest. If automation is proposed, its output needs the same checks.
Technical references
Sources for the definitions and design context discussed here. Check the applicable edition and project requirements before using them in design.
- 01
- 02